Create Audience with PSID
The very first step of re-targeting is to set your target audience with your customer list. When a person interacts with a business via Messenger, an ID is created for the specific Page associated with the bot in Messenger, which is called Page-scoped ID. This means, for the same person, the IDs across different communication channels are different.
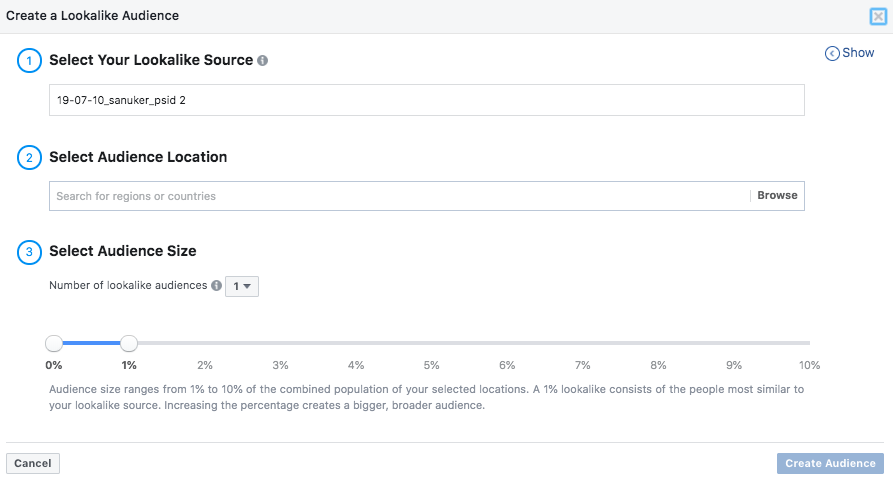
The following section would teach you how to create a custom audience or a lookalike audience with Page-Scoped ID (PSID).
Create Custom Audience
- Head to "Audience" in Facebook Ad Manager
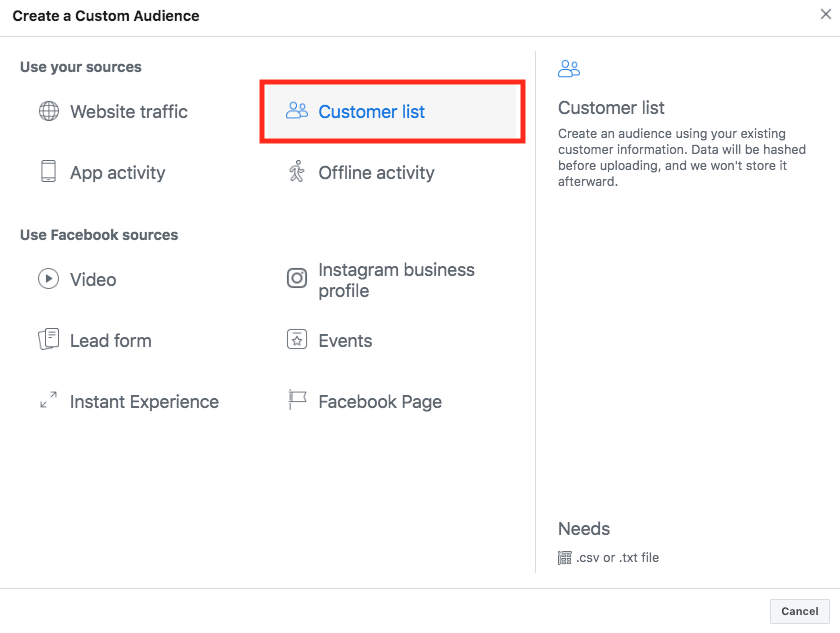
- Click "Create Audience" and select "Custom Audience"
- Select "Customer List"
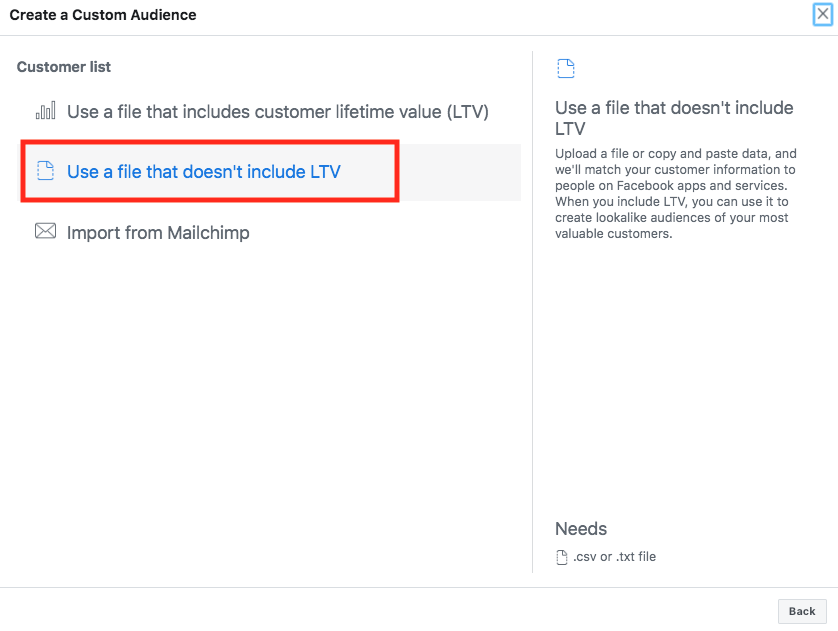
- Select a suitable file type. In this case, use a file that doesn't include LTV and in .csv format
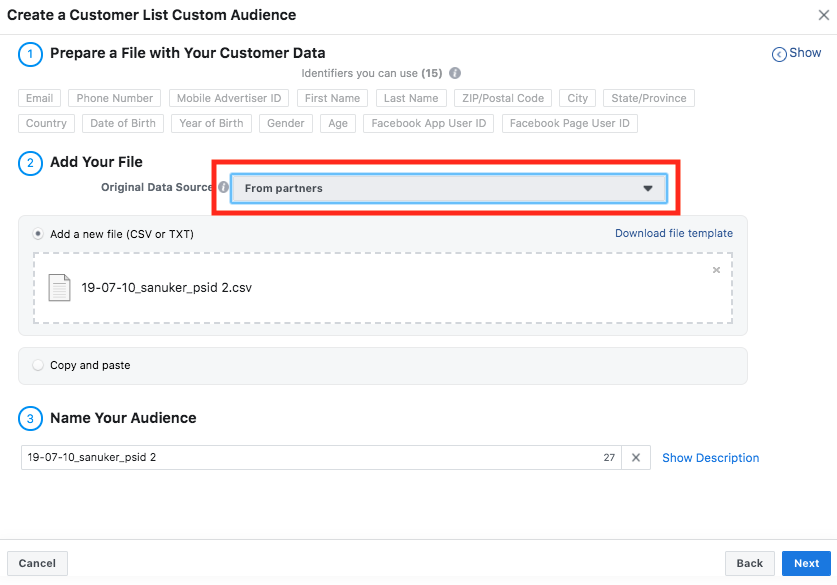
- Drag your .csv file with PSID and upload. Remember to select "From partners" for the Original Data Source and name your audience
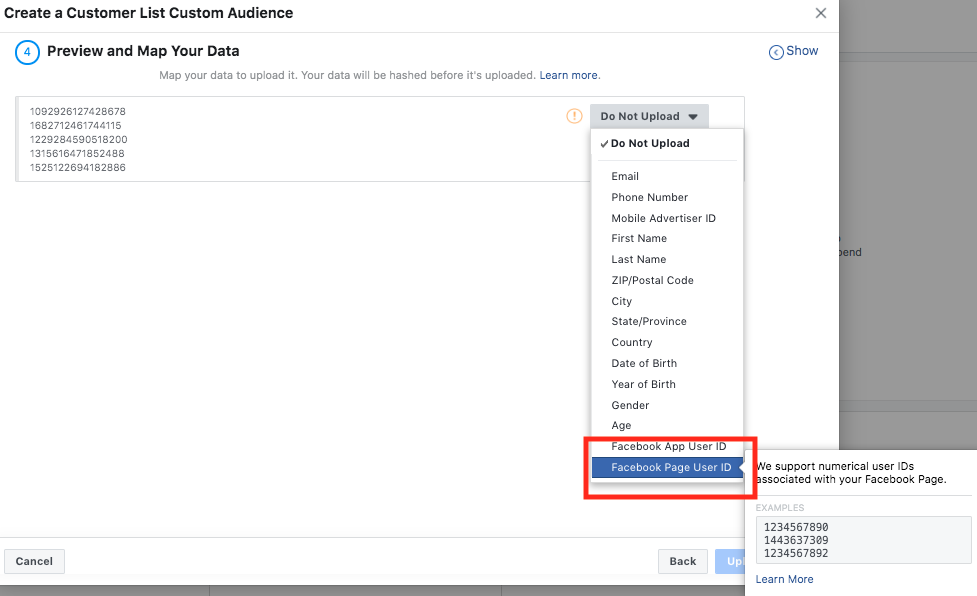
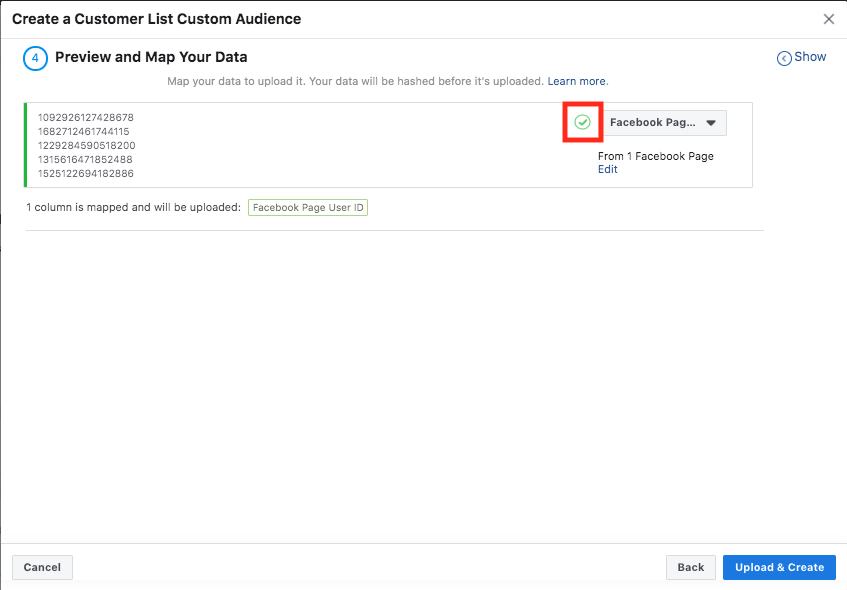
- Next, you need to map your data to fit a type of suitable dataset. In this case, select "Facebook Page User ID"
- Tell Facebook which page your PSID data retrieved from by typing the "Facebook Page ID"
- If your data file is properly uploaded and mapped, you will see a green tick. This means the Custom Audience is ready to be created
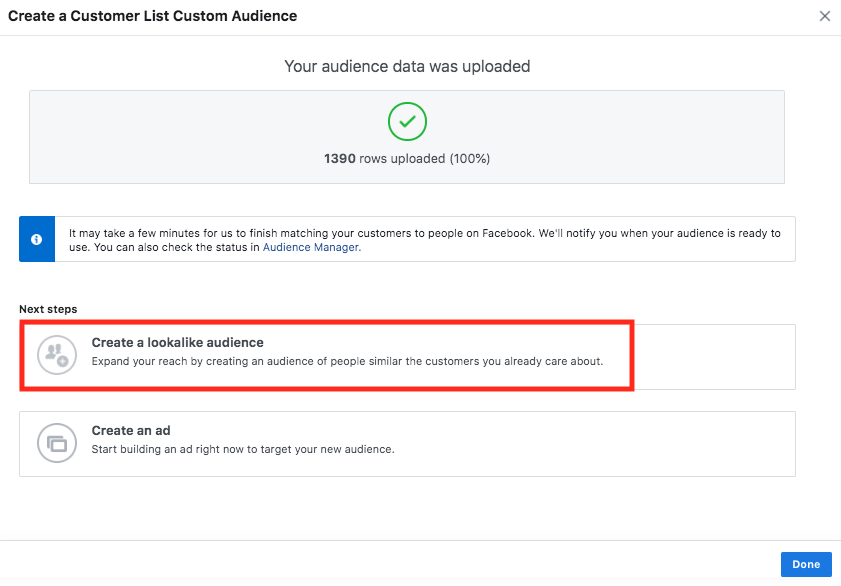
- Custom Audience is successfully created
- You may also select "Create a lookalike audience" with the Custom Audience you just created
