Facebook Platform Management
Inside the channel, the "Platform" is where you can manage settings specific to the Facebook Messenger Integration.
Settings
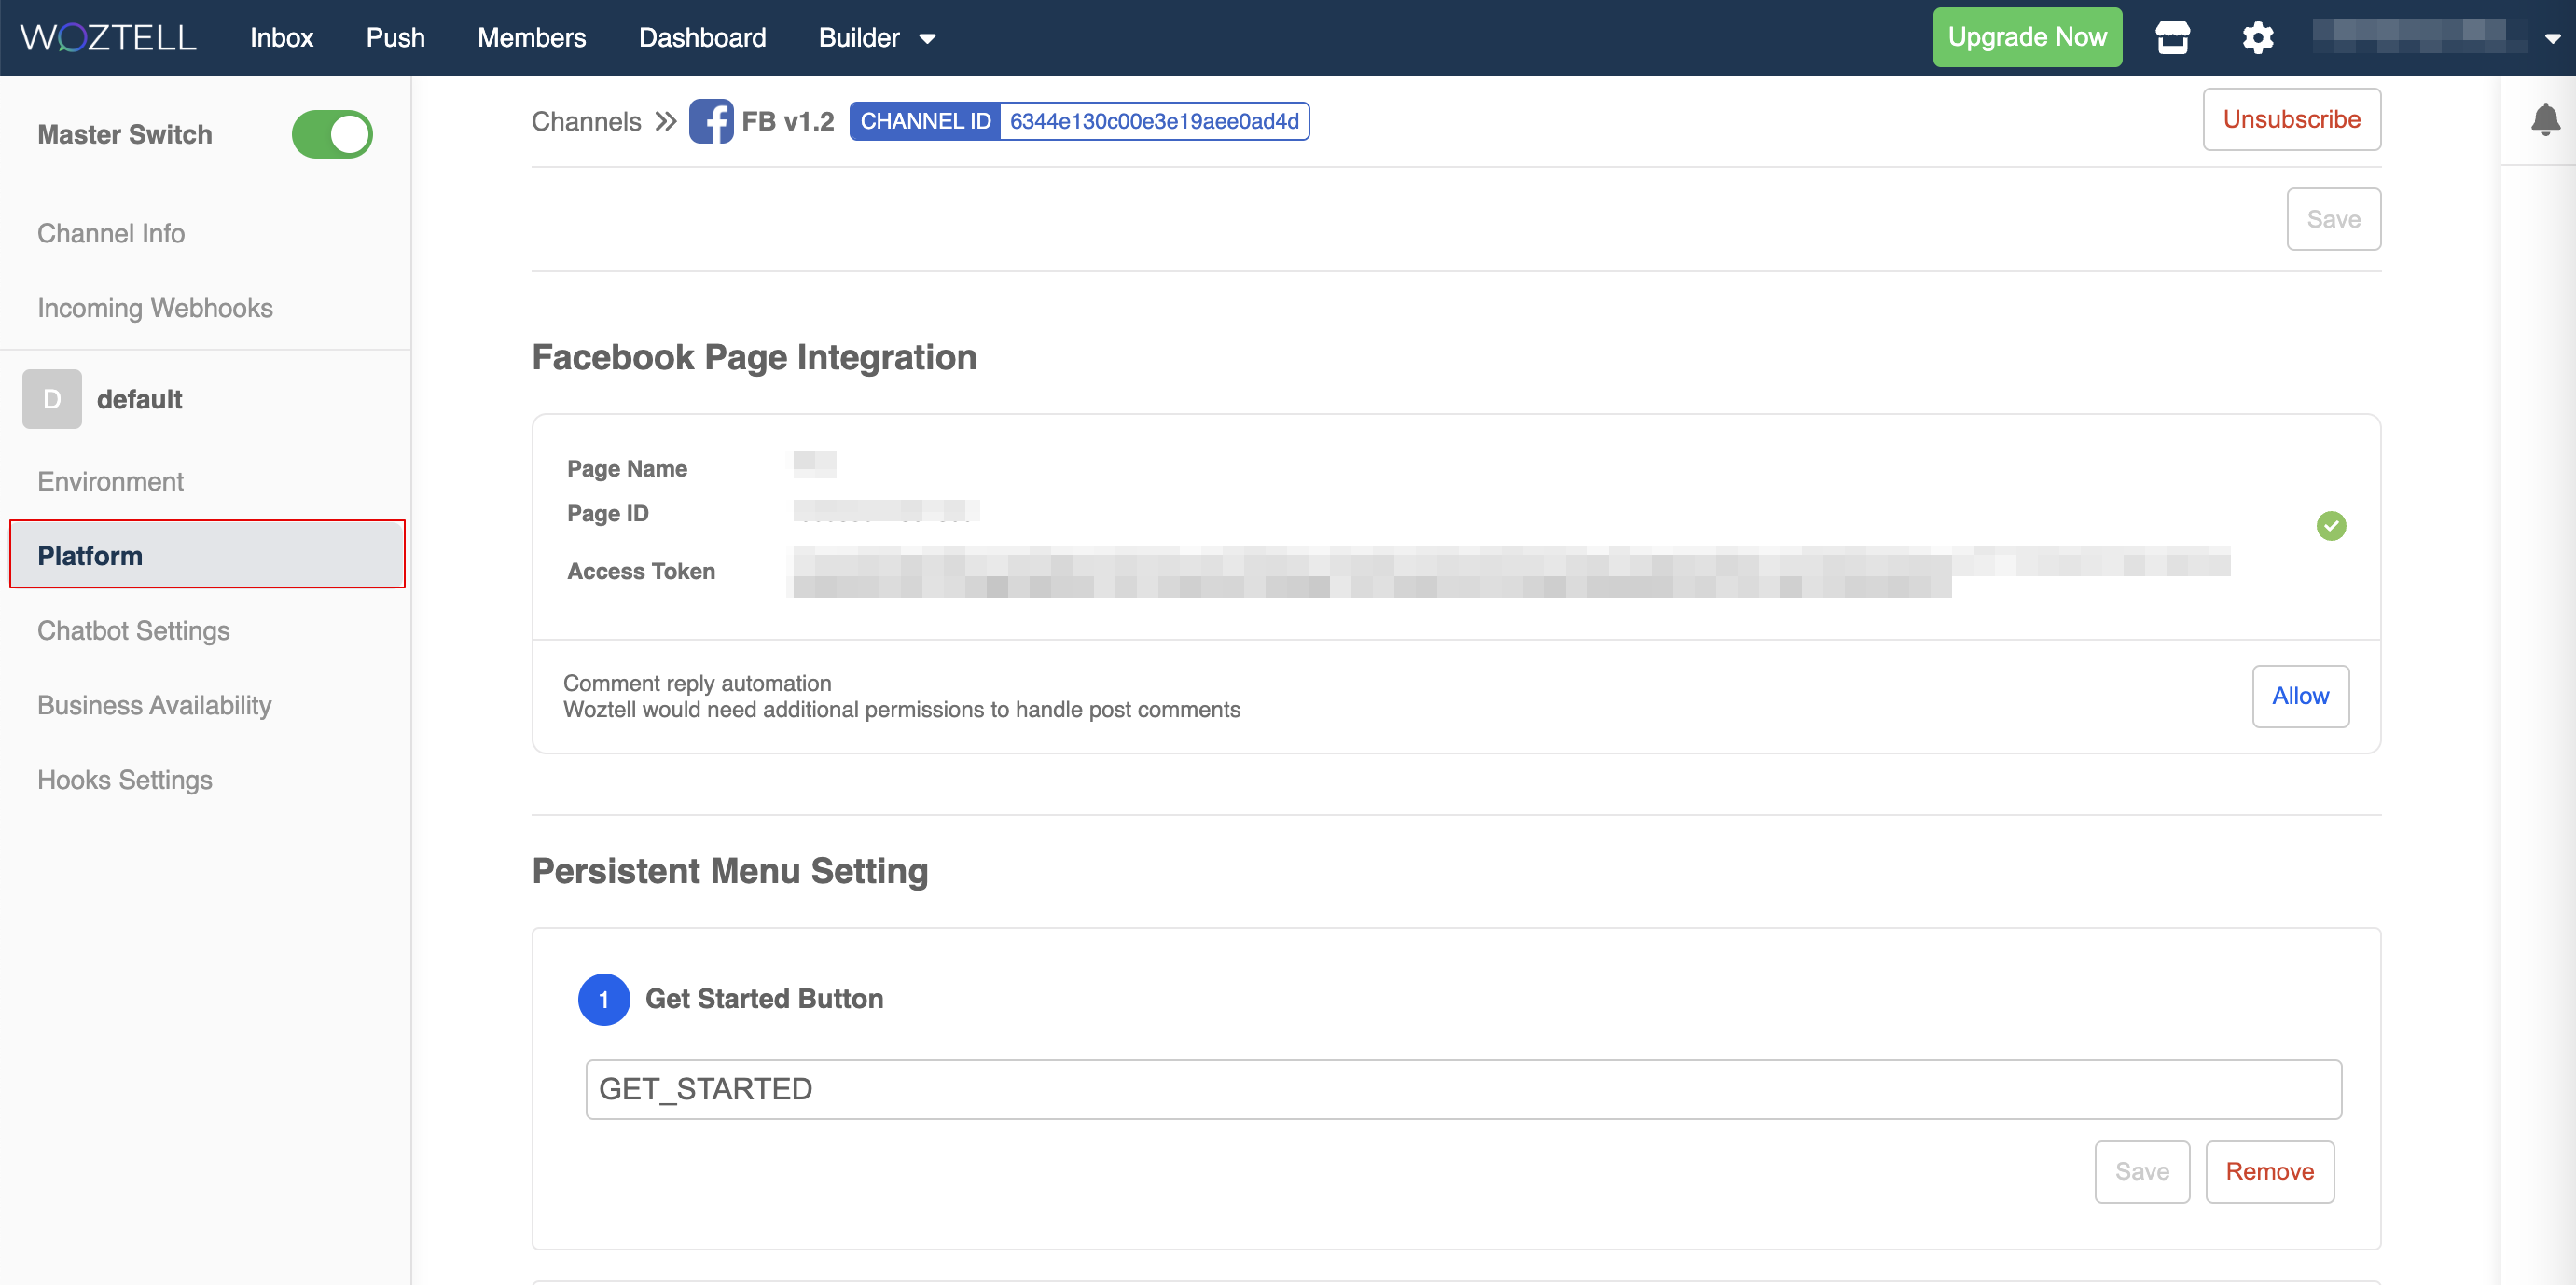
Once you have successfully connected you Facebook page to a channel, the page info can be displayed under the "Settings" tab, which includes the "Page Name", "Page ID" and "Access Token".

Reminder
You can create a m.me link by using it with the Page ID, which can redirect a user to a conversation with your Facebook page:
m.me/PAGE_ID

Permission for Comment Reply
Reminder
Please refer to here for the steps to build the comment reply flow.
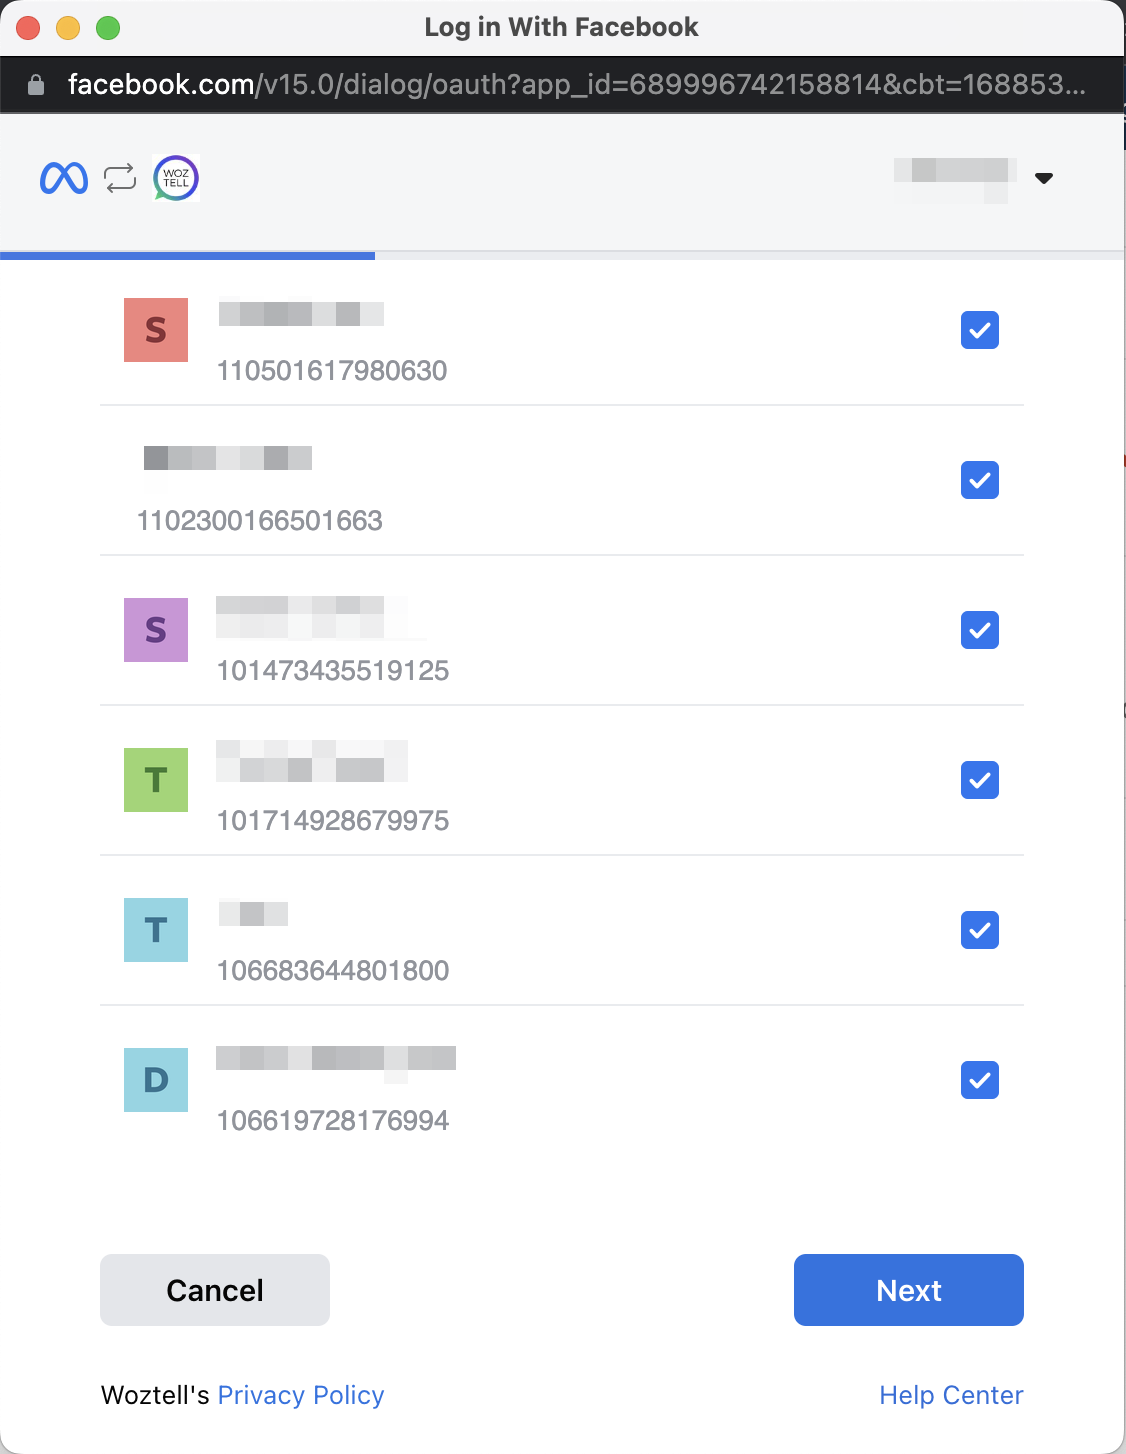
- To enable the Comment Reply feature, you need to allow the relevant permissions in this section.
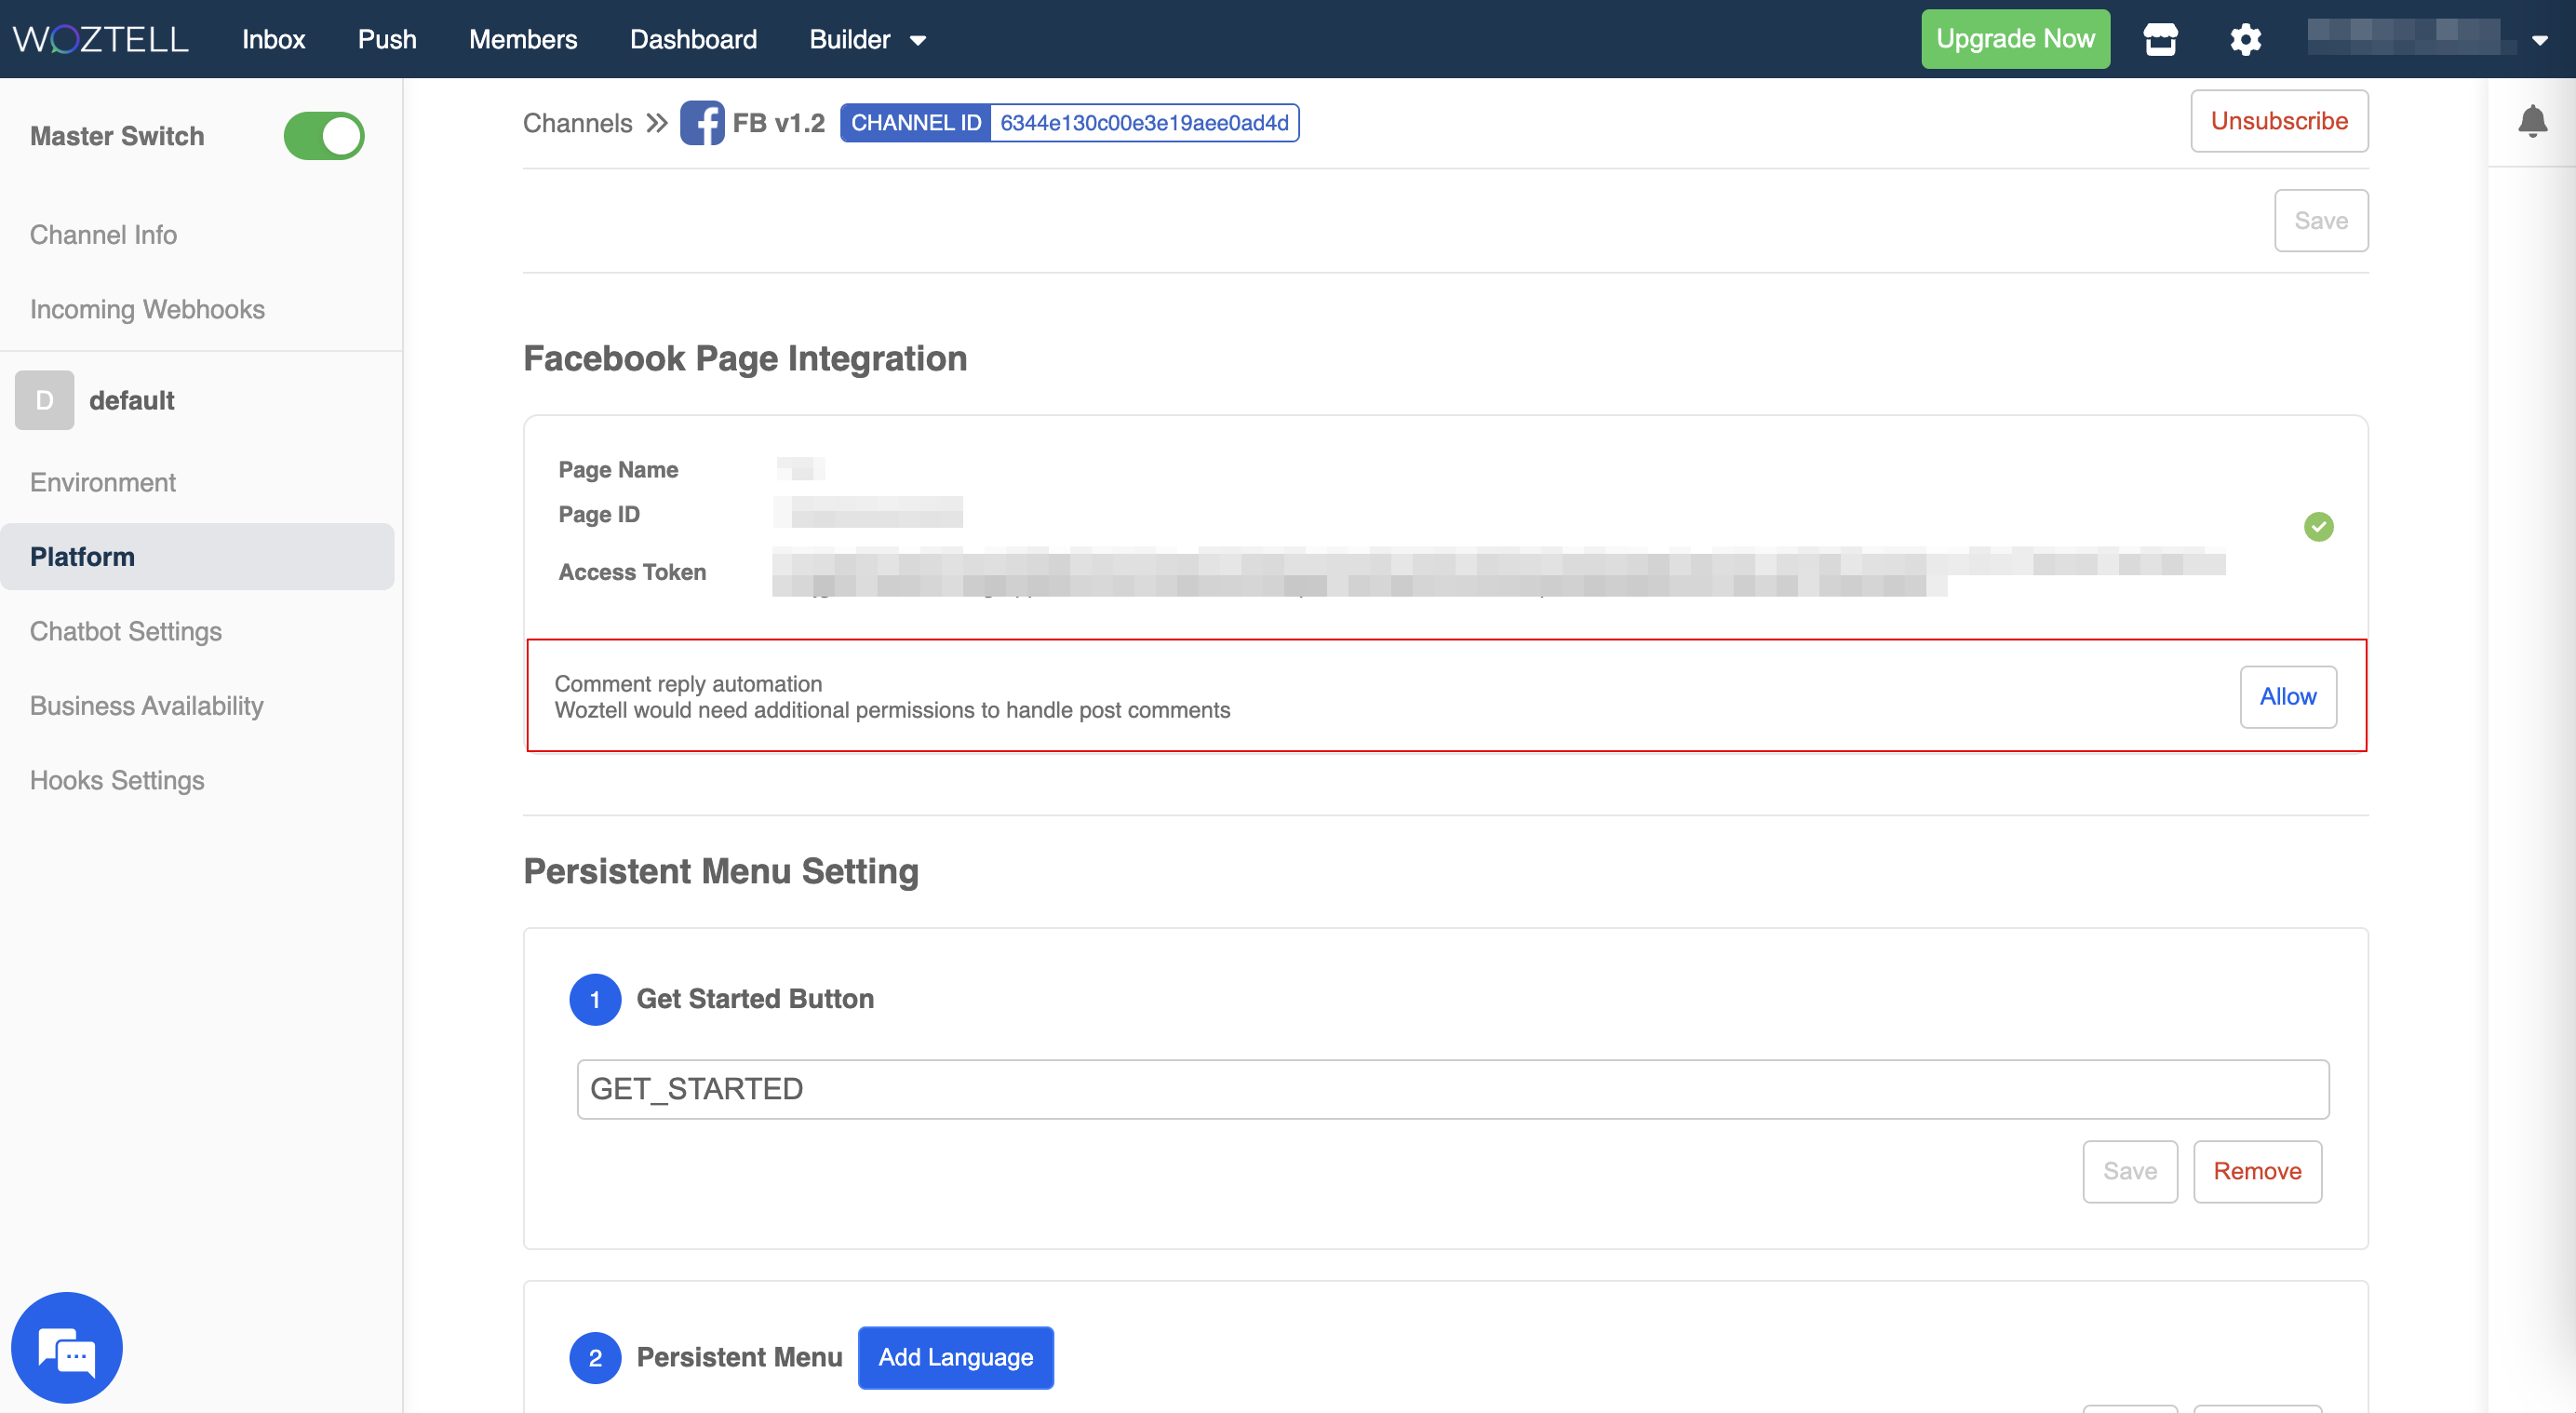
- After clicking "Allow", you will be asked to log into your Facebook account and grant the permissions for selected pages.
- The button will turn into a green tick once the permission is granted.

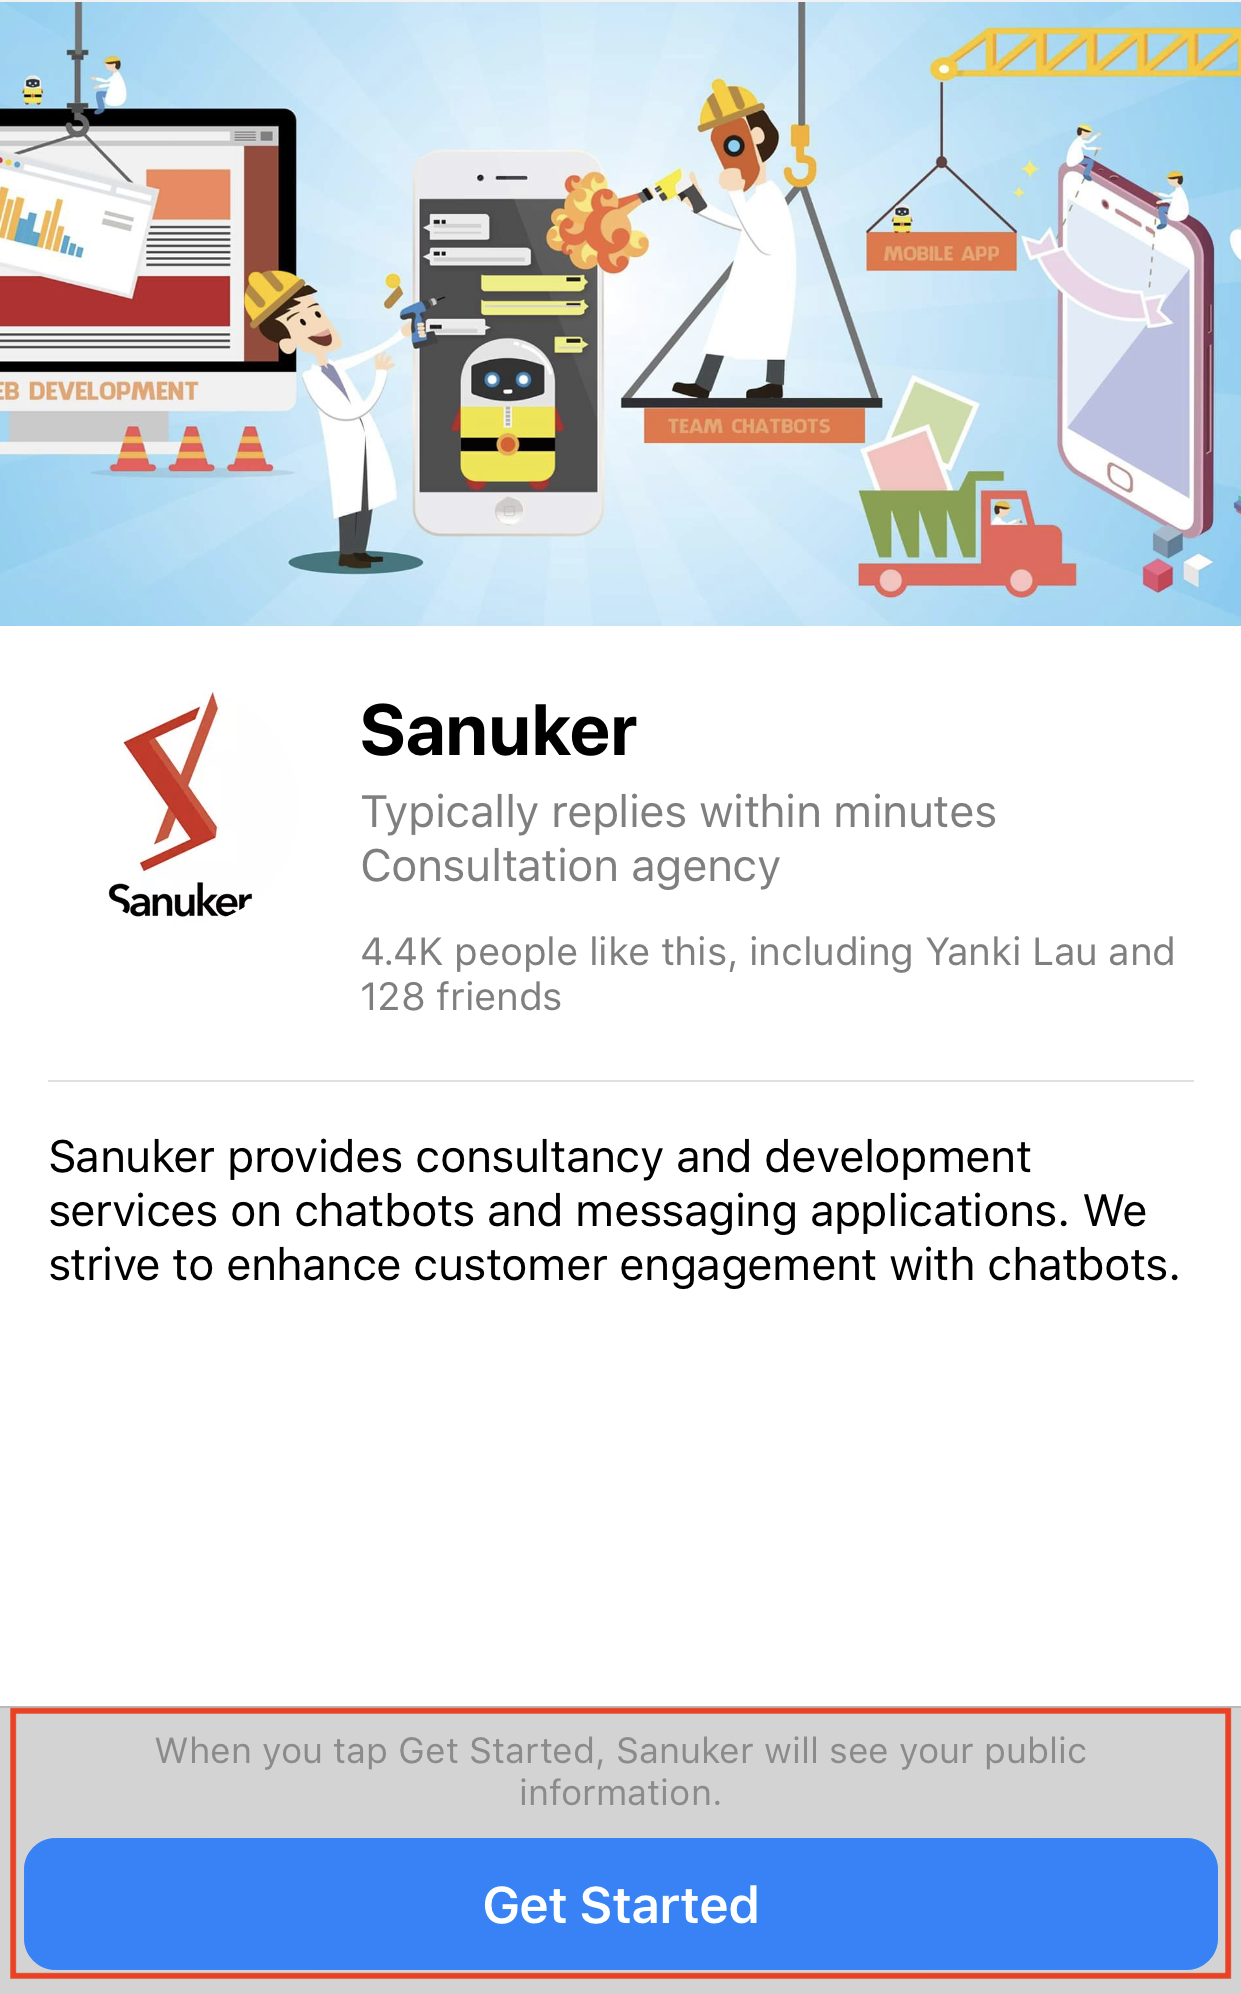
Get Started Button
Thw Get Started button is a useful entry point for customer who talks to your page for the first time. By assigning a payload to it, you can trigger some chatbot actions to kick start the conversation.
You can input the paylaod "GET_STARTED" and "Save" the settings. The payload is a case-sensitive value which can be customized.
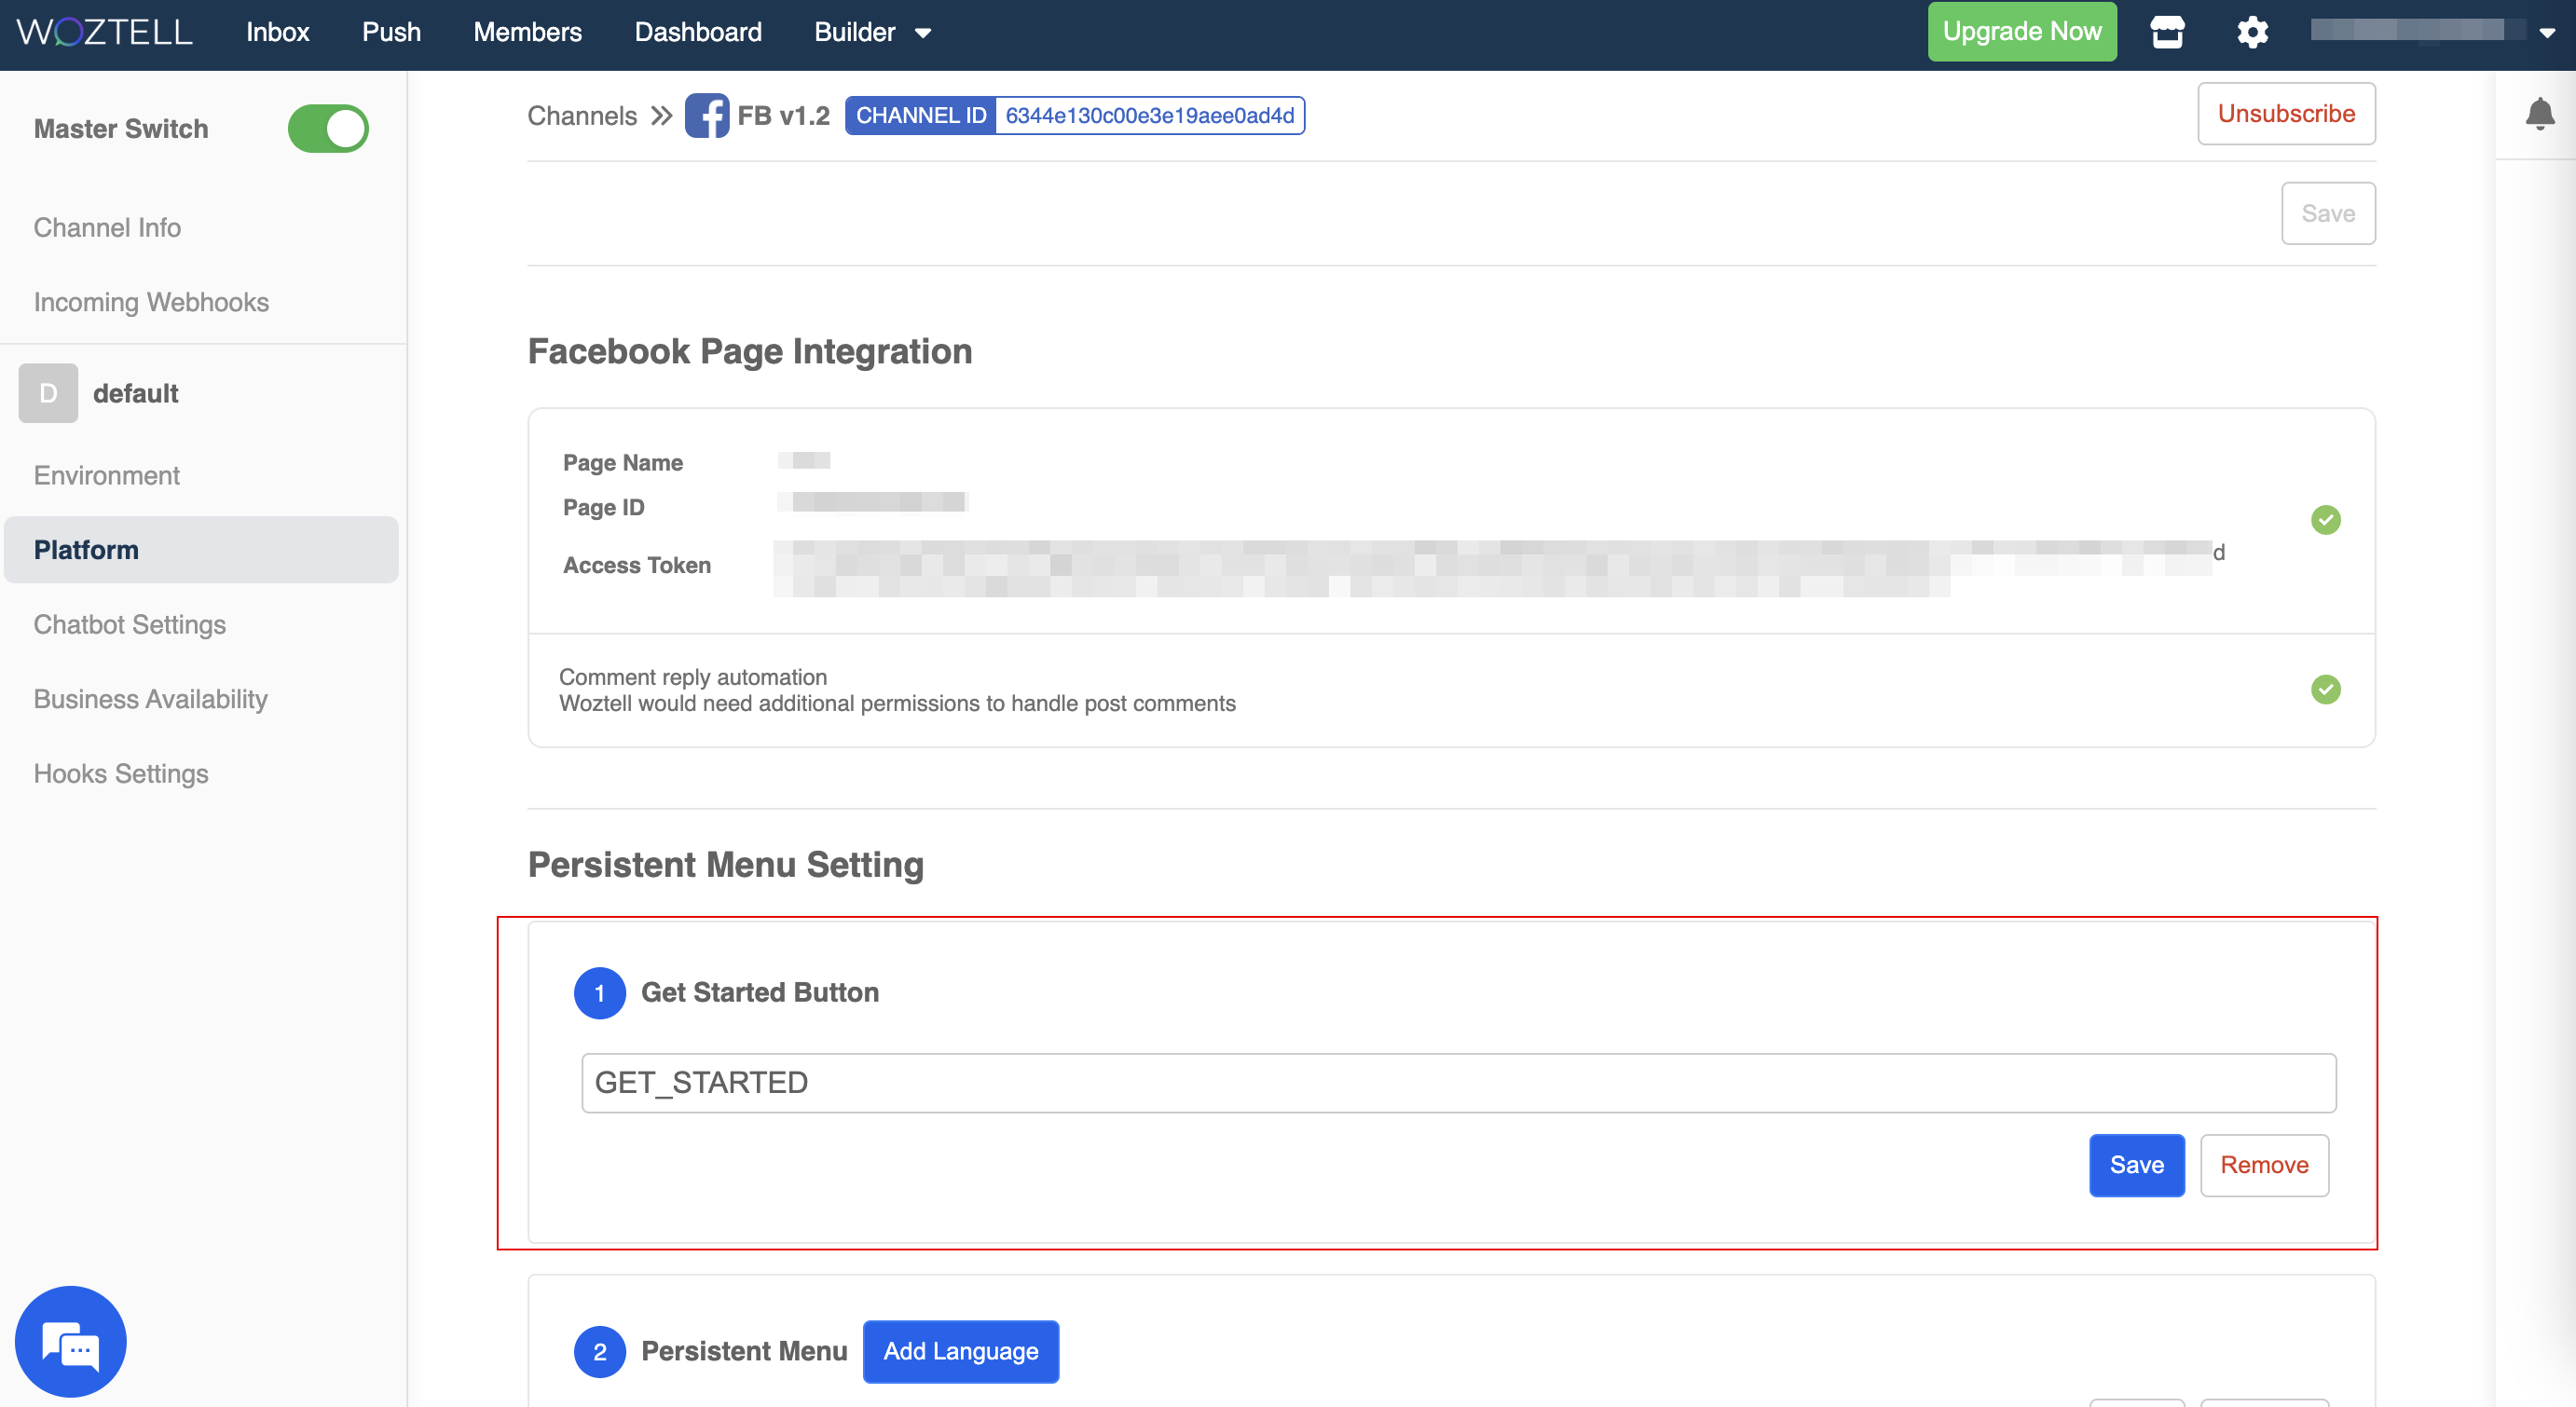
New users who first encounter your chatbot must click the Get Started button to kick start the conversation. Otherwise, they won't be able to receive messages from your chatbot. You can see this button as the first touch point of your user journey.
Reminder
Get Started button cannot be renamed.
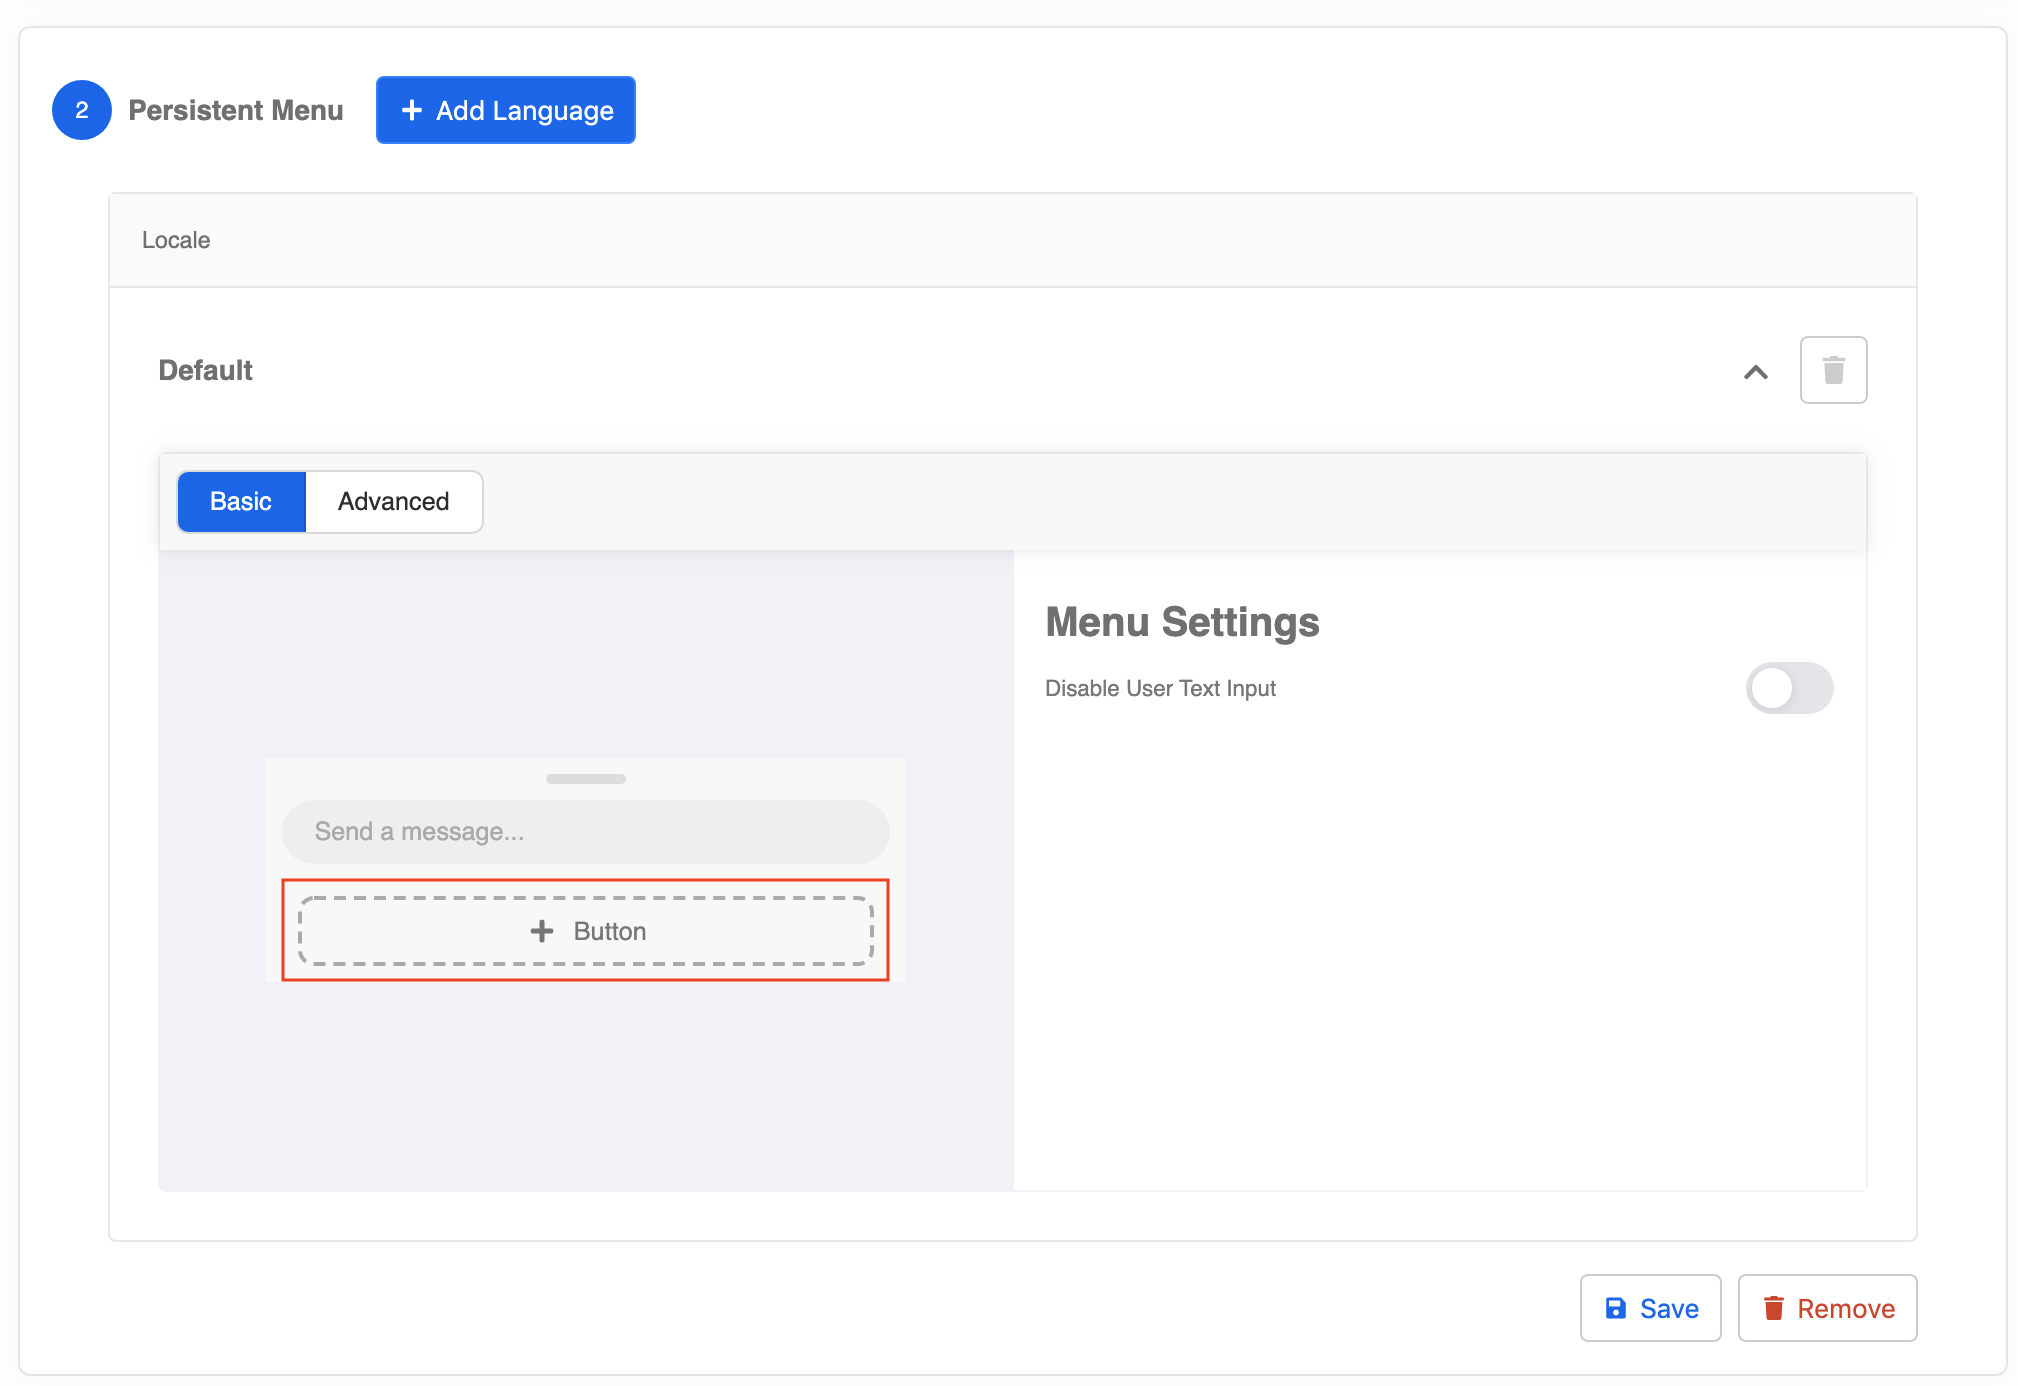
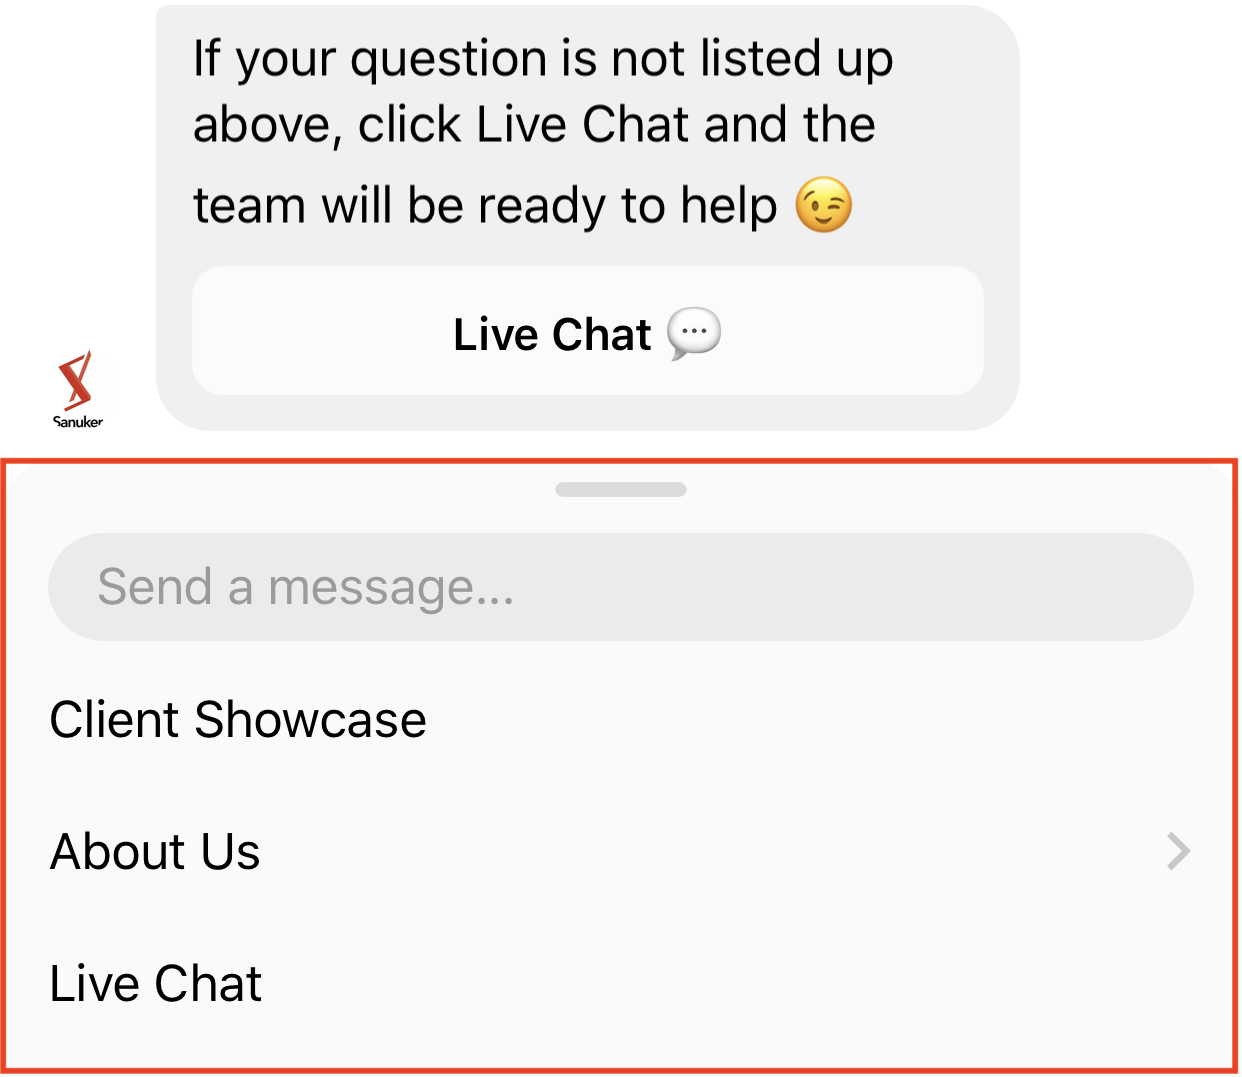
Persistent Menu
The Persistent Menu is always available to users. It should contain top-level actions that users can enact at any point.
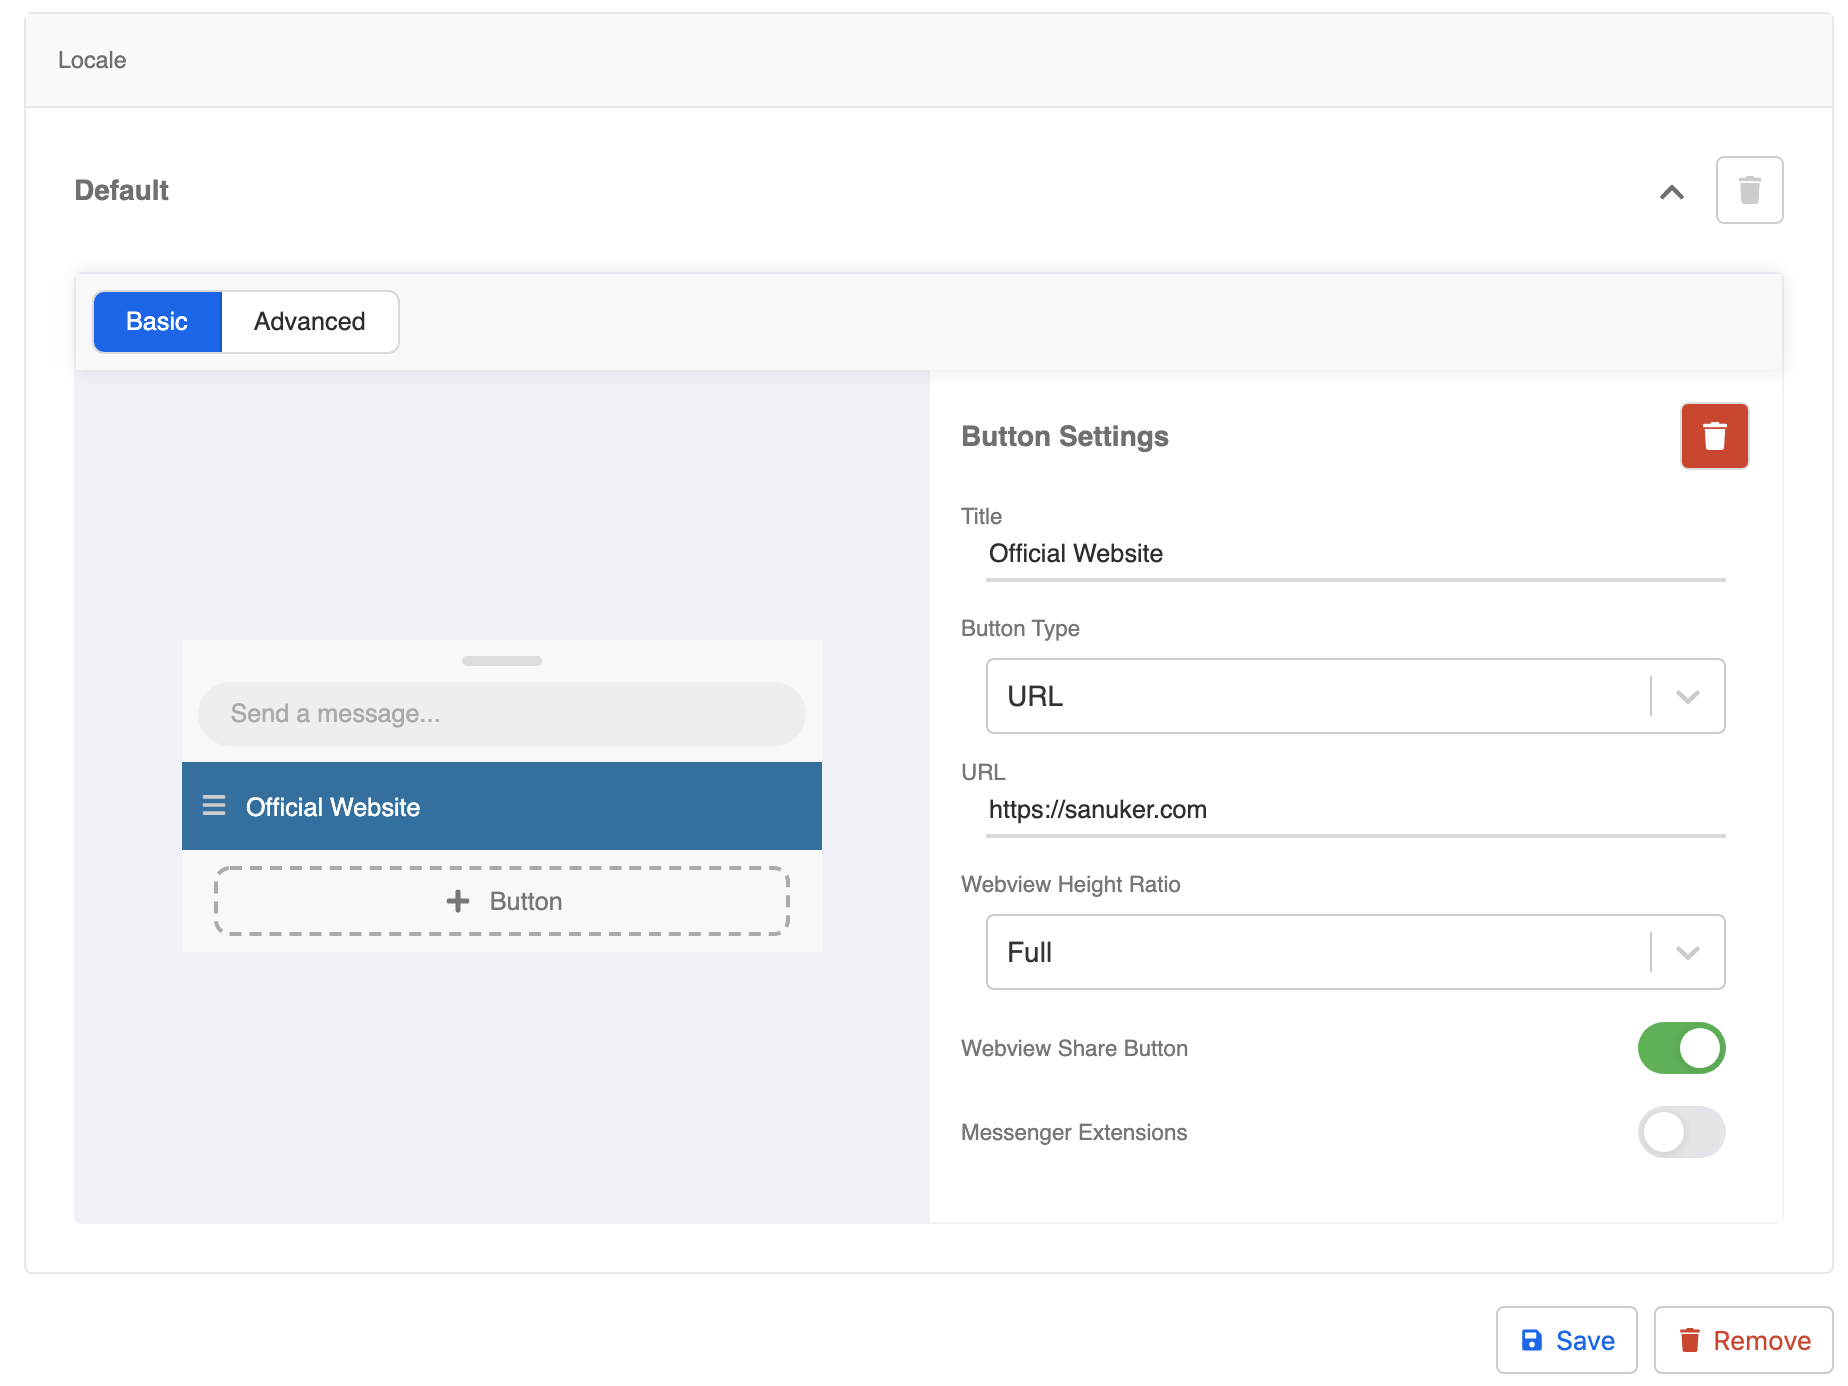
- Click "+ Add Language" and Click "+ Button" to create a persistent menu button.
- The button details will be displayed on the right hand side. Fill in the title, select the URL button type, and put down the URL of your official website. Click "Save".
- The Persistent Menu is a navigation menu located right next to the typing area to help users more easily access your chatbot’s functionality throughout the conversation. If you click on it, it will expand into a three-layered menu.

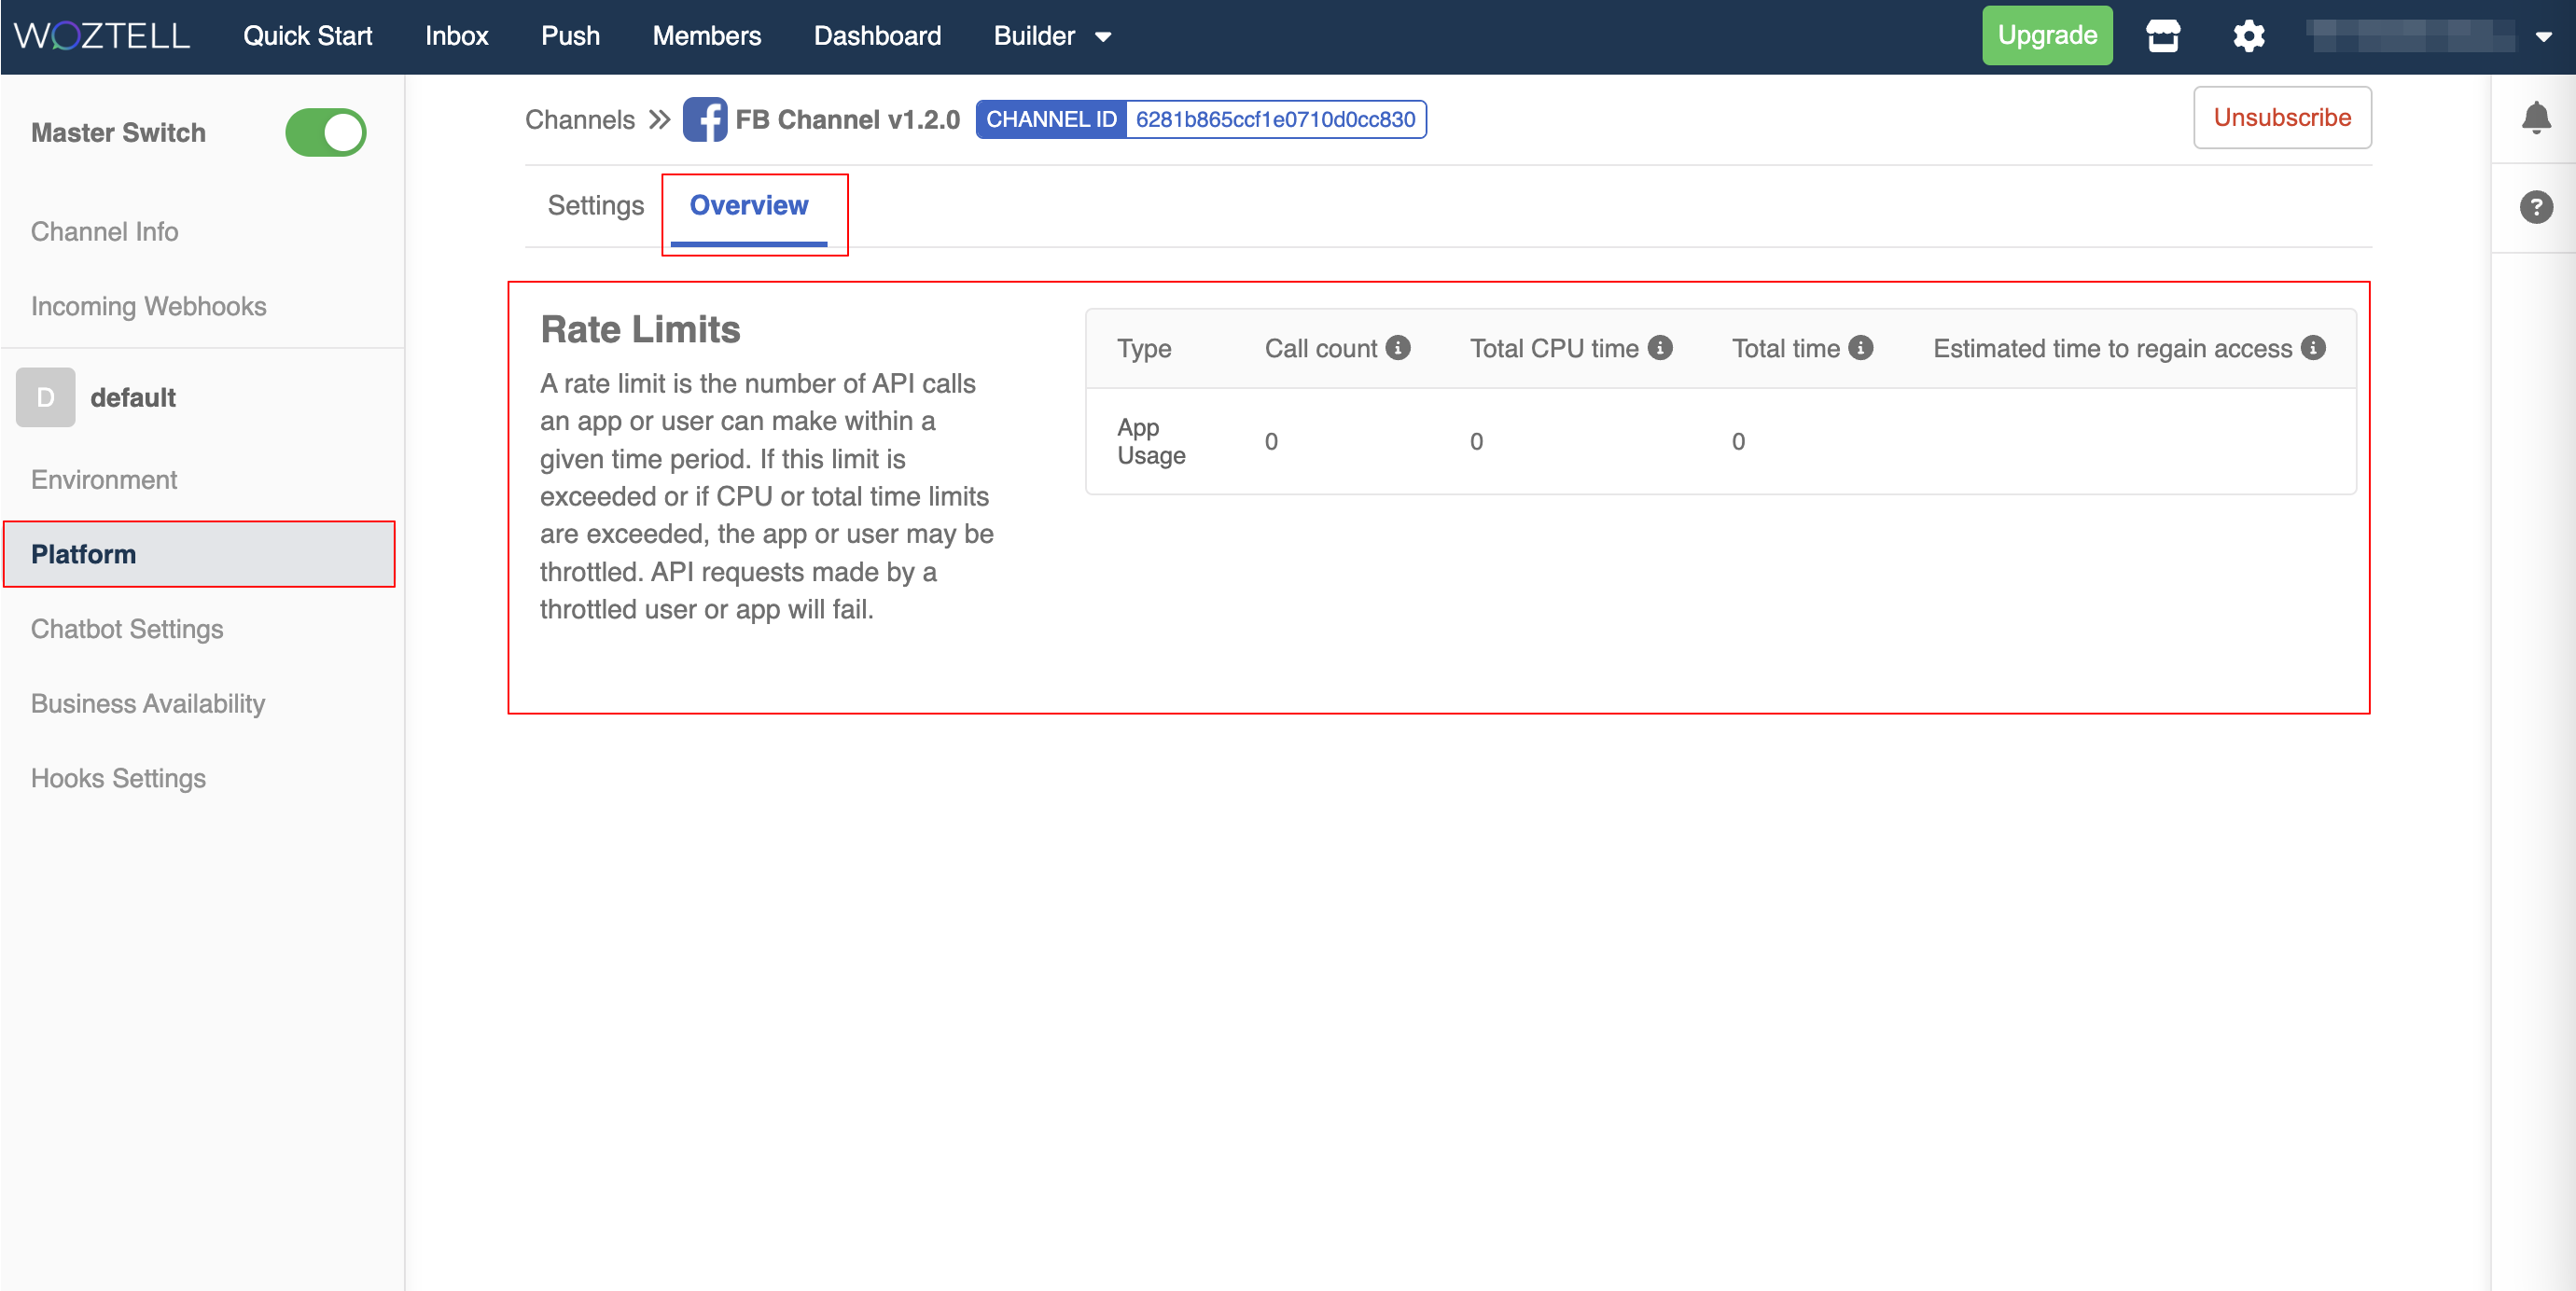
Overview
Rate Limits
Under the "Overview" tab, you will see the "Rate Limits" section which can display the number of API calls an app or user can make within a given time period, in case further API request are throttled due to exceed of the API rate limits.